How to Effortlessly Convert WEBP to PNG in Just a Few Steps
_converted_2025-06-17_02-37-03.webp)
Understanding Image Formats: WEBP vs. PNG
In the world of digital imagery, knowing the ins and outs of various image formats is crucial for both professional and casual users. WEBP and PNG are two formats that serve different purposes, each with its own set of advantages. Understanding these differences helps in making informed decisions about when and how to use each format effectively.
WEBP, developed by Google, is known for its superior compression capabilities. It supports both lossy and lossless compression, which means you can reduce the file size significantly without sacrificing much of the image quality. This makes WEBP an excellent choice for web developers and designers who prioritize fast-loading websites and efficient storage. Moreover, WEBP supports features like transparency and animation, offering versatility that can be particularly useful for various web applications.
On the other hand, PNG, or Portable Network Graphics, is renowned for its lossless compression and high-quality image reproduction. Unlike WEBP, PNG maintains the entirety of the image data, ensuring that there is no loss in quality. This makes PNG ideal for images that require fine details and precision, such as logos, charts, and other graphics where clarity is paramount. Additionally, PNG supports transparency, which is essential for overlaying images on different backgrounds. However, the file sizes can be significantly larger compared to WEBP, which might not be ideal for all use cases.
Why Convert WEBP to PNG?
While WEBP offers impressive compression and quality, it is not universally supported across all platforms and software. This lack of compatibility can pose significant challenges, especially when sharing images or integrating them into projects that require widespread accessibility. Converting WEBP to PNG can help mitigate these issues, ensuring that your images can be viewed and used without any compatibility concerns.
One of the primary reasons to convert WEBP PNG is for software compatibility. Many older software applications and certain web browsers do not support WEBP, which can result in display issues or the inability to open the image files. By converting to PNG, you ensure that your images can be accessed and utilized across a broader range of platforms, from web browsers to graphic design software.
Another reason to consider conversion is the need for high-quality, lossless images. While WEBP's compression is efficient, there are scenarios where preserving every detail of the image is crucial. PNG's lossless compression ensures that no image data is lost during the conversion process, making it an ideal format for tasks that require maximum image fidelity. Additionally, for archival purposes, PNG is often preferred due to its robustness and stability over time.
Step-by-Step Guide to Converting WEBP to PNG using SuperFile
- Open the tool: Go to WEBP to PNG Converter.
- Upload your WEBP file: Click “Choose file” or drag your .webp file into the upload area.
- Start the conversion: Click the “Convert” button.
- Download your PNG: Once the conversion finishes, click “Download” to save the .png file.
Online vs. Offline Conversion Methods
Choosing between online and offline conversion methods depends on various factors such as convenience, control, and the number of files you need to convert. Each method has its own set of advantages and potential drawbacks, making it essential to understand which one best suits your specific needs.
Online conversion tools are incredibly convenient for quick, one-off conversions. They do not require any software installation, making them accessible from any device with an internet connection. This ease of access is particularly beneficial for users who need to convert a small number of files occasionally. Additionally, online tools often provide a user-friendly interface, making the WEBP to PNG converter process straightforward and hassle-free. However, the downside is that you need a stable internet connection, and there may be file size limitations depending on the service.
Offline conversion methods offer greater control and flexibility, especially for users who need to convert a large number of files or require advanced editing capabilities. Desktop applications like Adobe Photoshop and GIMP provide a comprehensive suite of tools that allow for precise adjustments and batch processing. This is ideal for professional users who need to maintain high-quality standards and perform additional image editing tasks. Moreover, offline tools do not depend on an internet connection, ensuring uninterrupted workflow even in offline environments.
Command-line utilities like ImageMagick and FFmpeg are preferred by users who require automation and scripting capabilities. These tools can handle bulk conversions efficiently and can be integrated into larger workflows for consistent and repeatable results. While they may have a steeper learning curve, the benefits of automation and the ability to customize the convert WEBP PNG process make them invaluable for technically inclined users. Ultimately, the choice between online and offline methods depends on your specific requirements, technical skills, and the nature of your projects.
Tips for Maintaining Image Quality During Conversion
Maintaining image quality during conversion is paramount, especially when transitioning from one format to another. While converting WEBP to PNG generally preserves image quality due to PNG's lossless compression, there are still best practices to follow to ensure the highest fidelity.
Firstly, always start with the highest quality source file possible. If your WEBP file is already compressed with lossy settings, some image quality may have been sacrificed from the outset. Using a high-quality source ensures that the conversion process does not exacerbate any existing artifacts or degradation. When possible, obtain the original, uncompressed version of the image before performing the conversion.
Secondly, pay attention to the settings and options available in your conversion tool. Many tools, especially desktop applications, offer configurable settings that can impact the output quality. For example, when using Adobe Photoshop, you can adjust the bit depth and compression level during the export process. Selecting the appropriate settings can help maintain the image's integrity and avoid unnecessary loss of detail. Additionally, for command-line tools like ImageMagick, you can specify parameters that control the quality and compression level, allowing for fine-tuned adjustments.
Lastly, perform post-conversion checks to ensure the quality of the converted images. After converting WEBP to PNG, carefully inspect the images for any noticeable differences in quality. Look for issues such as color banding, blurriness, or loss of detail. If any issues are detected, you may need to revisit the conversion settings or consider using a different WEBP to PNG converter. By taking these steps, you can ensure that the converted PNG images retain the highest possible quality, suitable for any professional or personal use.
Use Cases for PNG Images
PNG images are widely used across various industries and applications due to their high quality, lossless compression, and support for transparency. Understanding the different use cases can help you leverage PNG images effectively in your projects. One of the primary use cases for PNG images is in graphic design and digital art. Designers often use PNG format for creating logos, icons, and other graphics that require sharp edges and clear details. The lossless compression ensures that the images retain their quality, making them suitable for professional printing and digital display. Additionally, the support for transparency allows designers to create images that can be easily overlaid on different backgrounds, providing greater flexibility in design.
Web development is another area where PNG images are extensively used. While WEBP is gaining popularity for its efficient compression, PNG remains a staple for images that require high quality and transparency. For instance, website logos, buttons, and icons are often saved in PNG format to ensure they look crisp and professional. Moreover, PNG images are widely supported across all browsers and platforms, making them a reliable choice for web developers who need to ensure compatibility. In some workflows, it may even be useful to convert PNG to WEBP for performance optimization, provided compatibility is not an issue. PNG images are also commonly used in data visualization and scientific graphics. Charts, graphs, and diagrams often require precise details and accurate color representation, which PNG can provide. The lossless nature of PNG ensures that the data is presented clearly without any loss of information. This makes PNG an ideal format for sharing scientific findings, business reports, and educational materials where accuracy and clarity are paramount.
Best Practices for Image Optimization
Optimizing images is essential for ensuring fast-loading websites, efficient storage, and overall better performance in digital environments. While PNG is a high-quality format, following best practices for optimization can help you make the most of your images without compromising quality.
One of the key practices is to use appropriate compression techniques. While PNG uses lossless compression, tools like PNGGauntlet and TinyPNG can further optimize the file size without degrading image quality. These tools apply advanced compression algorithms to reduce the file size, making it more efficient for web use and storage. By optimizing PNG images, you can ensure faster loading times for websites and reduce bandwidth usage. Alternatively, you may choose to convert PNG to WEBP for even greater savings in file size while maintaining acceptable quality levels.
Another important practice is to resize images to the appropriate dimensions for their intended use. Large images with high resolutions can significantly increase file size and loading times. Before uploading images to a website or including them in a project, resize them to the necessary dimensions. Most image editing software, like Adobe Photoshop and GIMP, offer resizing options that allow you to maintain the aspect ratio and quality of the image. This not only optimizes the file size but also ensures that the images fit seamlessly into your design.
Lastly, consider using the correct color depth for your images. PNG supports various color depths, including 8-bit and 24-bit color. For images that do not require a wide range of colors, such as simple graphics or icons, using a lower color depth can significantly reduce the file size. However, for photographs and detailed images, higher color depths are necessary to maintain quality. By selecting the appropriate color depth, you can optimize the file size while preserving the necessary details and colors.
Conclusion and Final Thoughts
Converting WEBP to PNG is an essential skill that can enhance your workflow and ensure compatibility across various platforms and applications. By understanding the differences between WEBP and PNG, you can make informed decisions about when to use each format and how to convert between them efficiently. Whether you prefer online tools, desktop applications, or command-line utilities, there are numerous options available to suit your needs.
Maintaining image quality during conversion is crucial, and following best practices can help you achieve the highest fidelity. By starting with high-quality source files, configuring the appropriate settings, and performing post-conversion checks, you can ensure that your images retain their integrity. Additionally, optimizing PNG images for web use and storage can improve performance and efficiency in digital environments. Depending on your project, you may also benefit from knowing how to convert PNG to WEBP when needed.
Ultimately, mastering image formats and conversion techniques can open up new possibilities for your digital projects. Whether you’re a graphic designer, web developer, or casual user, knowing how to handle different image formats can significantly enhance your capabilities. With the knowledge and tools provided in this article, you can confidently convert WEBP PNG and make the most of your images in any context.
Tags: convert WEBP PNG, PNG, Webp, png image
Recent Posts
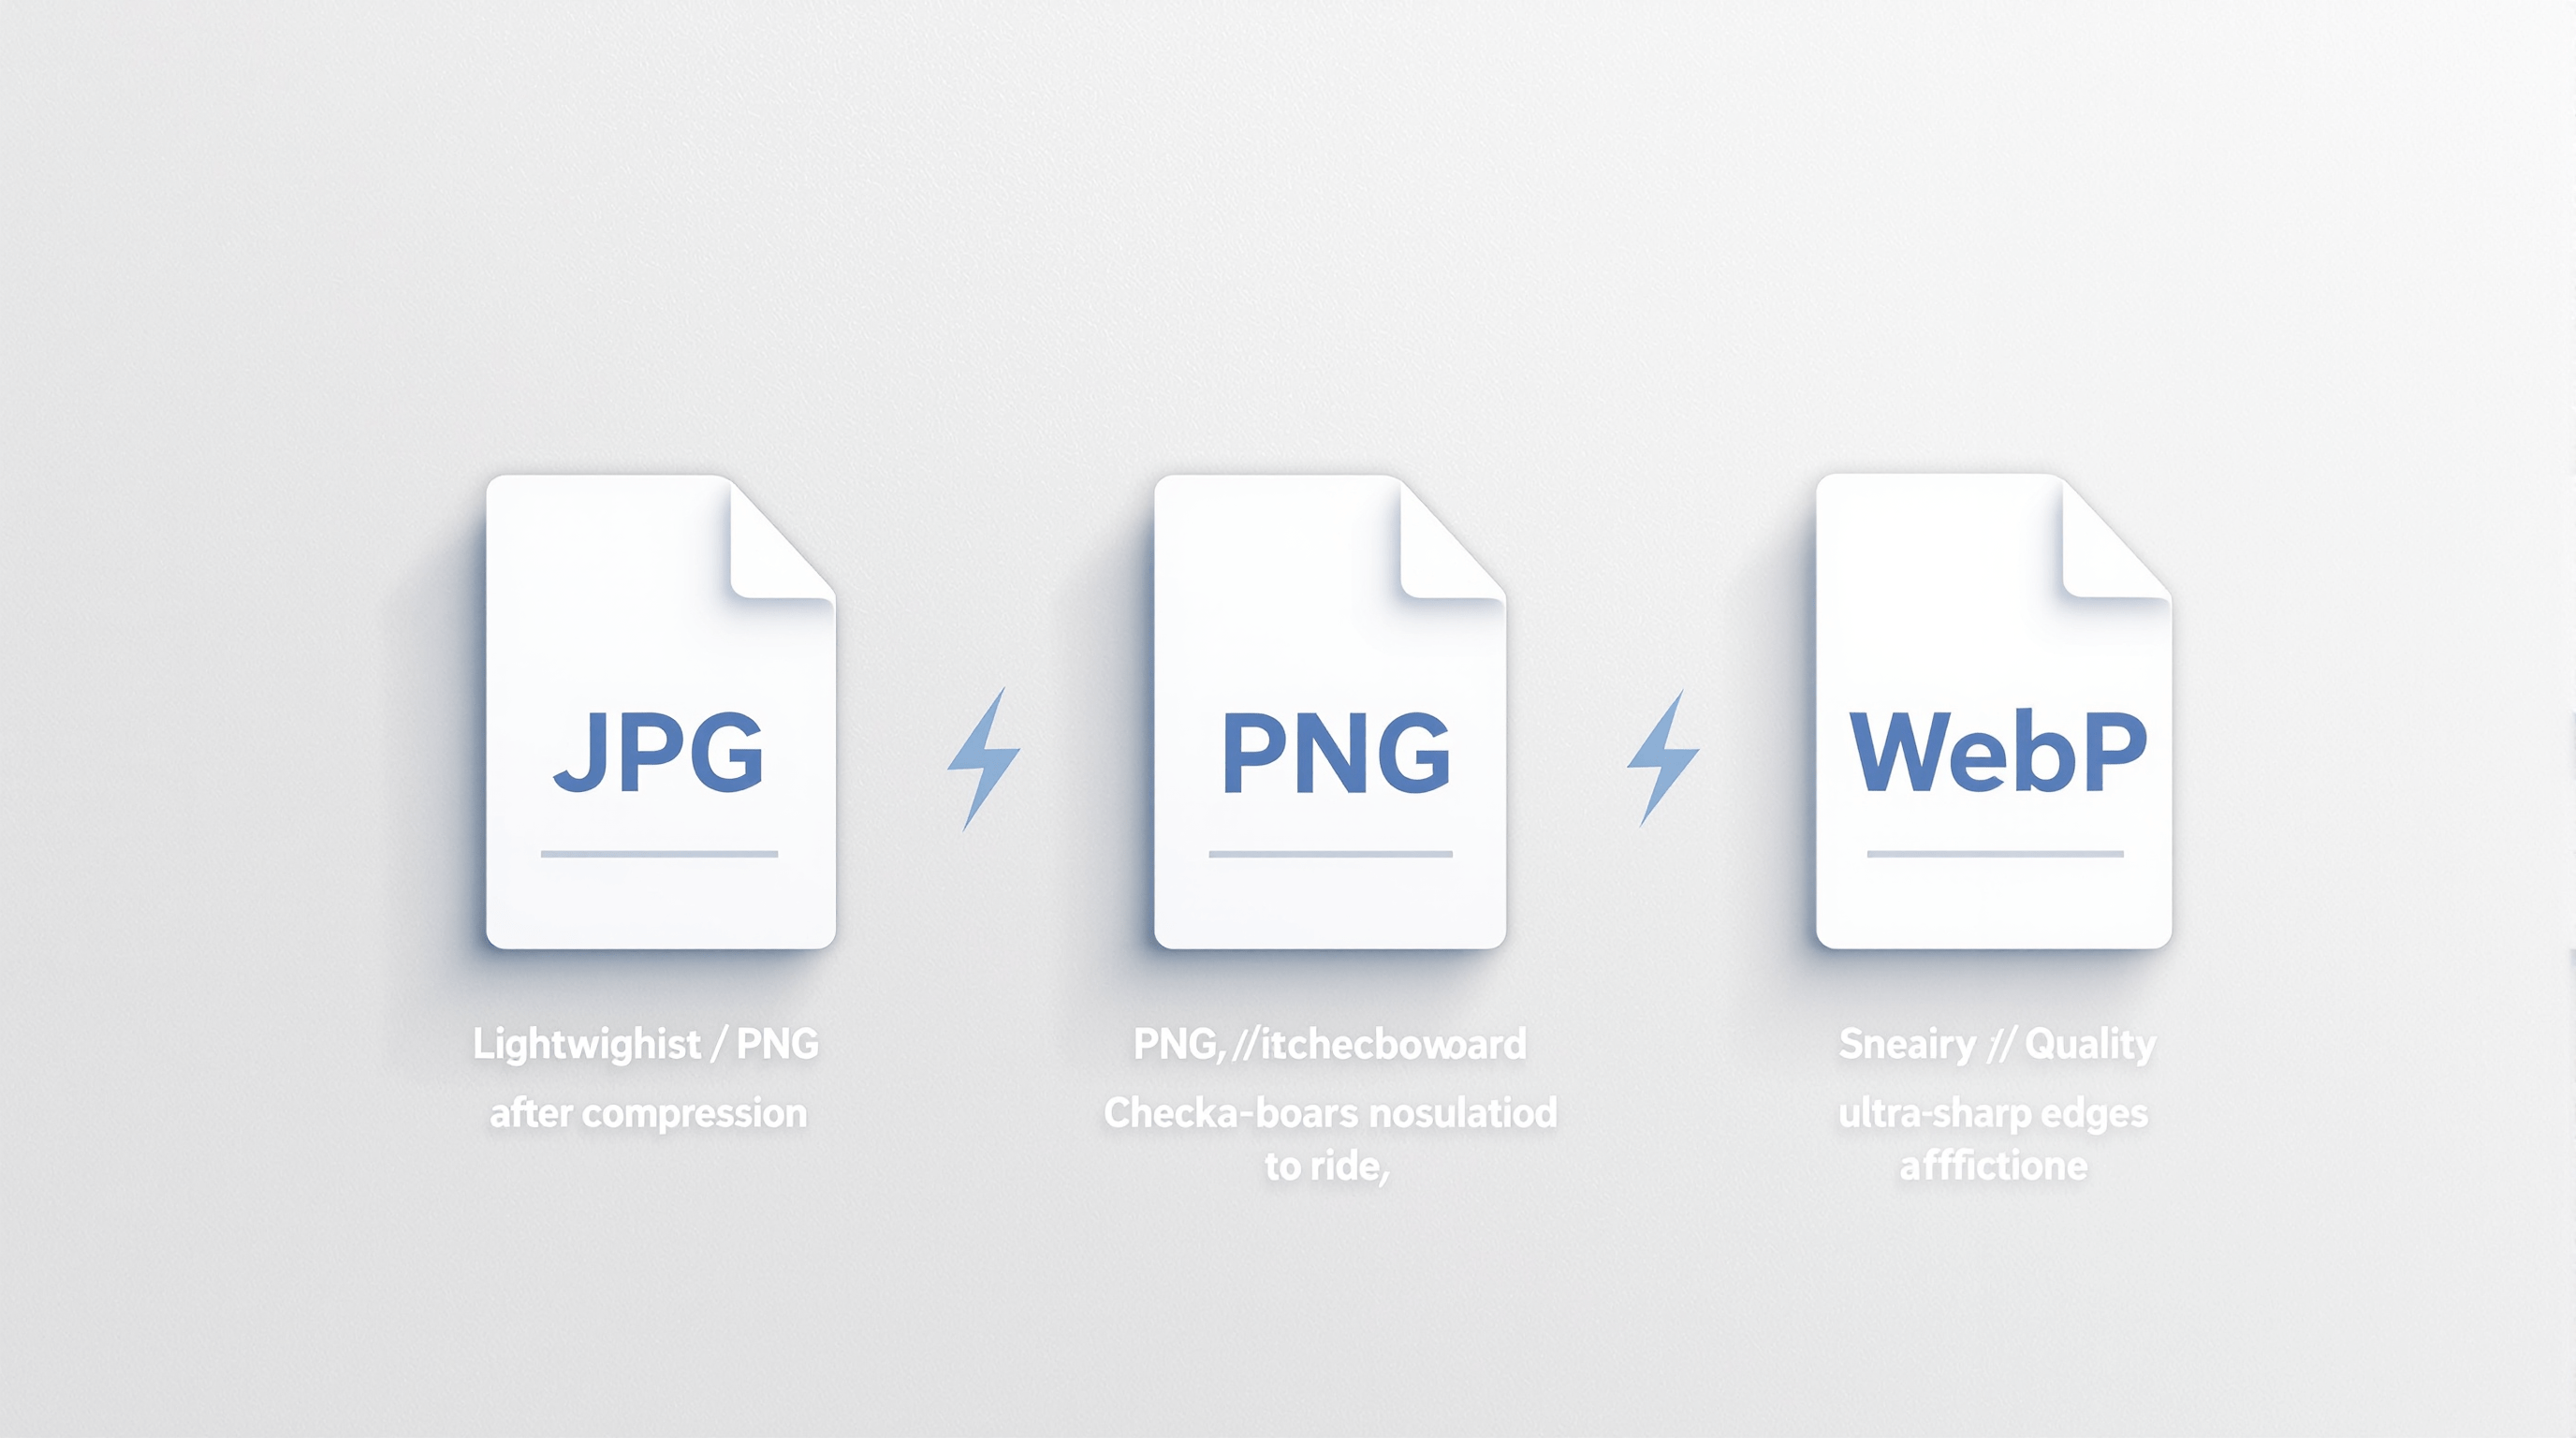
JPG, PNG, or WebP? Choosing the Right Format After Compression
23 hours ago
How to Split Large PDF Files into Smaller Parts Easily
5 days ago

Common Regex Testing Mistakes (and How to Avoid Them)
6 days ago
Why Audio Converters Are a Game-Changer for Creators
1 week ago
Why Every Business Needs a Website Uptime Checker in 2025
2 weeks ago

Case Letter Converter: Make Your Text Look Instantly Polished
2 weeks ago